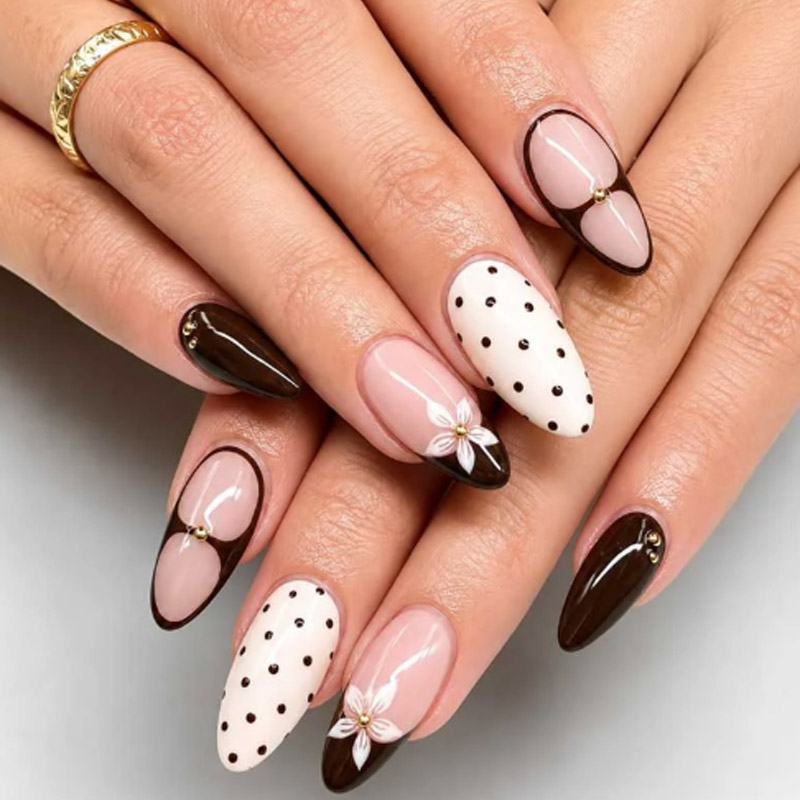
Developing private label press on nails involves much more than adding a logo to an existing nail set.
For a beauty brand that wants a recognizable product range, the development process may involve choosing nail shapes, defining sizing, creating artwork, selecting finishes, approving handmade decoration, designing packaging, planning accessories, reviewing physical samples, and documenting the final version before production.
The most important stage is often sampling.
An attractive concept does not become a production-ready product until the buyer and manufacturer agree on what the physical nail should actually look like.
That is why successful private label press on nails projects should move through a controlled sequence:
Concept → Product Specification → Initial Sample → Revision → Packaging Sample → Final Approved Sample → Production Reference
Skipping steps can create problems later. A design may look beautiful but use the wrong length. A color may differ from the brand palette. A 3D flower may be too large for smaller nails. Packaging may not provide enough clearance for decoration.
This guide explains how beauty brands can take private label press on nails from an initial idea to an approved physical sample that can be used as a reliable production reference.
Start Private Label Press On Nails With a Clear Customer
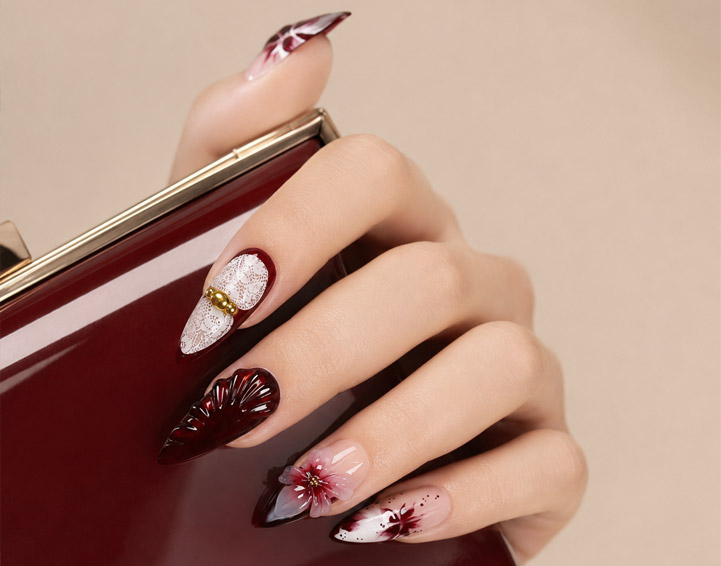
Before selecting nail designs, define who will buy the collection.
The target customer influences almost every later decision.
For example, a brand targeting customers who want practical everyday nails may prioritize:
- Short square
- Squoval
- Short almond
- Nude
- Milky pink
- Micro French
- Minimal artwork
A more fashion-driven private label press on nails collection might emphasize:
- Medium almond
- Long almond
- Coffin
- Cat-eye
- Chrome
- 3D flowers
- Rhinestones
- Hand-painted artwork
This customer definition should be included in the product brief.
It helps the manufacturer understand why certain shapes, lengths, colors, and decoration levels matter.
Without that context, the factory may be able to reproduce the reference image but still misunderstand the commercial purpose of the product.
Decide Whether the Design Is OEM, ODM, or Manufacturer-Assisted
Before sampling, determine how much of the design already exists.
OEM-Led Development
The brand provides:
- Original artwork
- Shape requirements
- Color direction
- Decoration specifications
- Packaging direction
The manufacturer focuses on translating those requirements into physical private label press on nails.
ODM-Led Development
The manufacturer provides more design support.
The buyer may begin with:
- Target customer
- General style
- Mood board
- Color family
- Collection theme
and then select or modify proposed designs.
Hybrid Development
Many projects sit somewhere between the two.
A brand may provide a clear color system and packaging identity while asking the manufacturer to adapt existing production techniques into new designs.
The important point is to define responsibility.
Who creates the artwork?
Who decides the final nail composition?
Who provides packaging files?
Who approves the physical product?
Clear roles make private label press on nails development much easier to manage.
Create a Product Specification Before Sampling
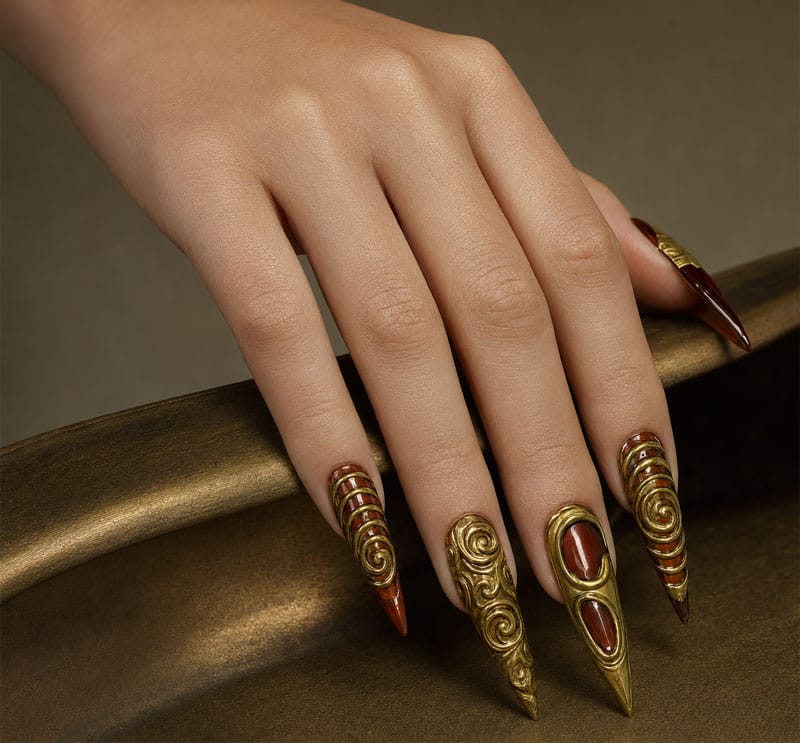
A reference image alone is not enough.
Before requesting private label press on nails samples, create a basic specification for each SKU.
Include:
Product Code
Assign a unique code.
For example:
`PL-FLR-01`
This code can be used across samples, artwork files, packaging, and future reorders.
Shape
Specify:
- Square
- Oval
- Almond
- Coffin
- Stiletto
- Another approved shape
Length
Define:
- Short
- Medium
- Long
Physical measurements can also be recorded where precision matters.
Size Configuration
Confirm:
- Available widths
- Number of nails per set
- Required size mix
Color
Specify:
- Base color
- Undertone
- Opacity
Finish
For example:
- Glossy
- Matte
- Jelly
- Cat-eye
- Chrome
- Pearl
Artwork
Provide:
- Design files
- Mood boards
- Placement instructions
Decoration
Identify:
- Rhinestones
- Pearls
- Charms
- Foil
- 3D flowers
The more clearly these elements are documented, the fewer decisions need to be guessed during private label press on nails sampling.
Choose the Nail Shape Before Finalizing Artwork
Artwork should follow the physical nail shape.
A design created for coffin nails may not translate directly to almond.
A large centered flower that fits a wide coffin surface may dominate a narrower almond tip.
Similarly, artwork designed for medium almond may become overcrowded when moved to short square.
Brands should therefore approve the shape early in the private label press on nails development process.
Xingyi’s shape and size guide can help buyers compare silhouettes, lengths, and sizing options before artwork is finalized.
Once the shape is chosen, the designer can use the available surface more intelligently.
Create a Finger-by-Finger Design Map
For detailed products, specify what each nail should look like.
For example:
| Nail | Design |
|---|---|
| Thumb | Main floral artwork |
| Index | Sheer base + gold line |
| Middle | Pearl accent |
| Ring | 3D flower |
| Little finger | Simple sheer finish |
This is particularly important for handmade private label press on nails.
Without a design map, the manufacturer may understand all the requested elements but distribute them differently across the set.
A complete set should be designed as one composition.
Hero nails, supporting nails, and simpler nails should work together.
Approve the Base Color Separately From the Finish
Color and finish are different decisions.
For example:
Color: Burgundy Finish: Glossy
is different from:
Color: Burgundy Finish: Cat-eye
and:
Color: Burgundy Finish: Jelly
For private label press on nails, record these elements separately.
The same principle applies to neutral colors.
“Sheer pink” and “opaque pink” can look completely different even if their basic hue is similar.
If a particular color is important to the brand identity, a physical reference may eventually be more reliable than a digital screenshot.
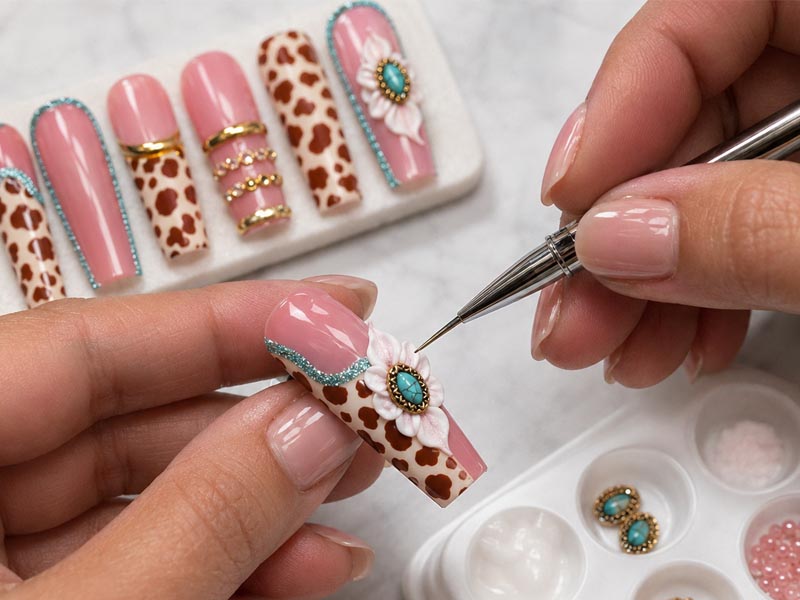
Define Handmade Details Precisely
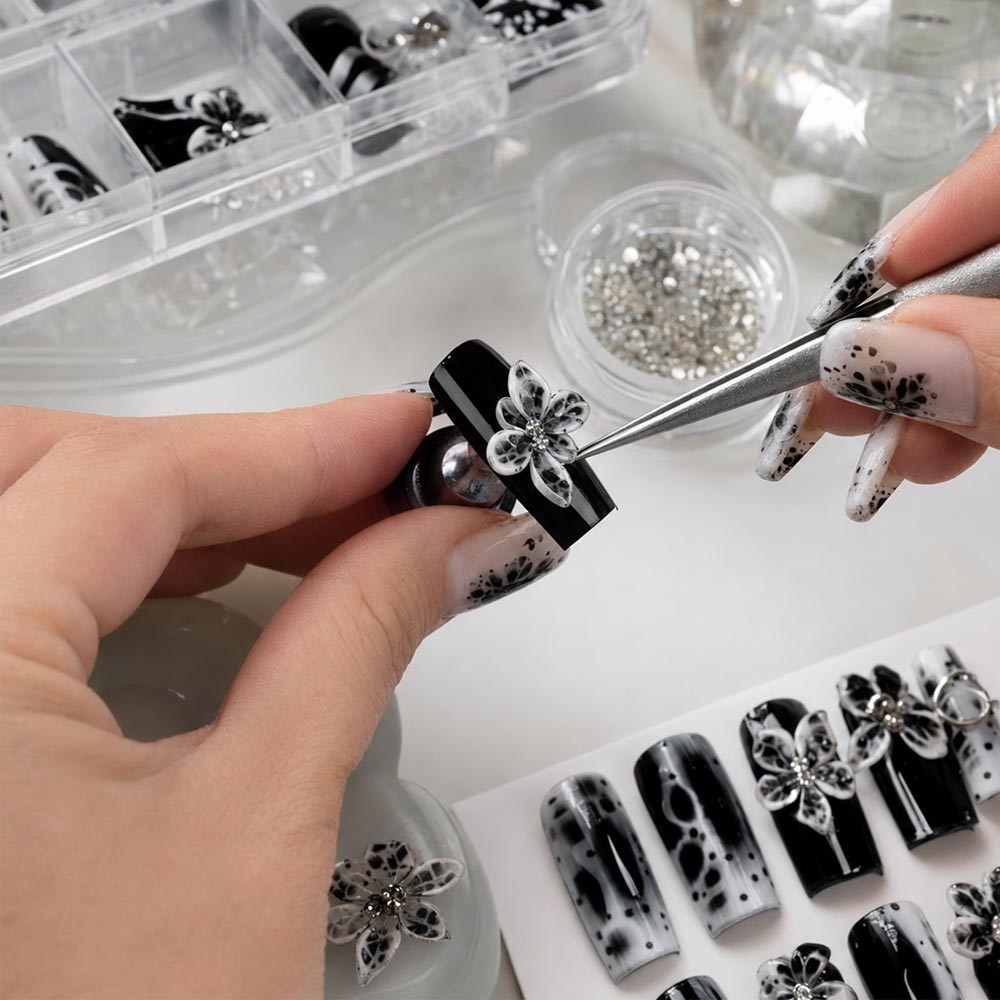
Handmade decoration creates differentiation but also introduces more production variables.
For handmade private label press on nails, specify:
- Flower size
- Flower color
- Number of flowers
- Rhinestone size
- Pearl quantity
- Placement
- Orientation
Then define which differences may be acceptable.
For example:
Must remain consistent:
- Base color
- Flower quantity
- Decoration type
- Nail shape
- Set composition
Controlled variation may be acceptable:
- Small differences in brush strokes
- Minor flower-petal angles
- Slight foil variation
Handmade should mean controlled craftsmanship, not uncontrolled variation.
Review the First Sample for Structure First
When Sample V1 arrives, do not immediately focus only on artwork.
Review the structural elements first.
Check:
- Shape
- Length
- Width
- Curvature
- Size configuration
- Tip proportions
If the base shape is wrong, perfect artwork cannot rescue the product.
The first private label press on nails sample should confirm whether the physical foundation matches the intended collection.
Once the structure is correct, visual refinement becomes easier.
Review Color and Finish Under Different Angles
Some finishes change substantially depending on light.
This is particularly true for:
- Cat-eye
- Chrome
- Metallic
- Pearl
- Jelly
A photograph may not fully communicate the real appearance.
Rotate the private label press on nails sample and inspect:
- Color depth
- Reflectivity
- Surface smoothness
- Finish consistency
For cat-eye, also check:
- Magnetic direction
- Reflection strength
- Consistency across nail sizes
For chrome, check whether the reflective surface is even.
Physical sample approval matters because the finished customer receives a physical product, not a rendering.
Evaluate the Whole Set
Do not approve only the most attractive nail.
Place the full private label press on nails set together.
Ask:
- Is there a clear focal point?
- Are too many nails heavily decorated?
- Are smaller nails overcrowded?
- Is the color distribution balanced?
- Do hero nails stand out?
- Does the complete set match the original concept?
This is especially important for handmade collections.
A beautiful ring-finger nail does not guarantee that the overall product works.
Give Structured Revision Feedback
Weak feedback creates unnecessary revisions.
Instead of:
> “Make the flowers smaller.”
write:
> “PL-FLR-01 V1: reduce the flower diameter on the ring-finger design by approximately 20%. Keep the current base color, nail shape, and pearl placement unchanged.”
Good private label press on nails revision notes should identify:
- SKU
- Sample version
- Problem
- Required change
- Elements that should remain unchanged
Use marked-up photographs when useful.
Then label the revised sample:
V2
This makes the approval history easy to follow.
Do Not Change Everything in Every Revision
Controlled revision is faster than redesigning the product repeatedly.
If Sample V1 needs changes to:
- Flower size
- Gold tone
- Nail length
focus Sample V2 on those issues.
Avoid simultaneously adding:
- Another finish
- New rhinestones
- Different artwork
- A new package
unless those changes are genuinely necessary.
Every private label press on nails sample should answer a specific set of questions.
That makes it easier to see whether the revision actually improved the product.
Develop Packaging Before Final Approval
Packaging should not wait until bulk production.
Once the nail itself is close to approval, begin testing the complete retail package.
A private label set may include:
- Nail tips
- Adhesive tabs
- Nail glue
- File
- Wooden stick
- Preparation pad
- Instruction card
The packaging should account for all components.
For private label press on nails with 3D decoration, check:
- Internal height
- Nail spacing
- Decoration clearance
- Accessory movement
The real nails should be placed into the physical tray.
Do not rely only on packaging drawings.
Xingyi’s customized services can support nail design, logo, packaging, artwork, decoration, and complete retail-set development.
Make Packaging Information Match the Product
Once the physical product is confirmed, packaging artwork should accurately identify it.
Typical information may include:
- Product name
- Shape
- Length
- Nail quantity
- Included accessories
- Application information
If the finished kit includes nail-related cosmetic products such as nail glue, brands should also review the rules applying to the destination market. In the United States, FDA guidance explains that nail products meeting the definition of cosmetics are regulated under cosmetic requirements and must be safe when used as directed; required warnings may also apply where necessary. (U.S. Food and Drug Administration)
The FDA also states that cosmetic labeling claims must be truthful and not misleading. (U.S. Food and Drug Administration)
Brands can review the FDA Nail Care Products guidance when preparing U.S.-bound product information.
Approve the Complete Retail Sample
The final approval sample should not consist only of loose nails.
For retail-ready private label press on nails, the buyer should eventually approve:
- Nail product
- Complete size mix
- Packaging
- Tray
- Accessories
- Printed artwork
- Insert card where applicable
This is sometimes referred to as a pre-production or final approval sample.
Its purpose is simple:
> This is what production is expected to reproduce.
Once approved, avoid making informal changes through separate messaging.
If something changes, update the specification and version.
Create a Golden Sample
Retain one approved physical sample.
This golden sample should represent:
- Shape
- Length
- Color
- Finish
- Artwork
- Decoration
- Complete set composition
For complex private label press on nails, retain the approved retail package as well.
The buyer should ideally keep a reference, and the manufacturer should retain a controlled production reference.
Mark the sample clearly:
SKU: PL-FLR-01 Version: Final Approval Date: [date]
This makes future reorders easier to compare.
Define Quality Criteria Before Production
Before production starts, the buyer and manufacturer should understand what defects matter.
Possible private label press on nails inspection categories include:
Shape Defects
- Incorrect silhouette
- Damaged edges
- Distorted tips
Surface Defects
- Scratches
- Dust
- Bubbles
- Uneven coating
Artwork Defects
- Missing pattern
- Wrong placement
- Wrong color
Decoration Defects
- Missing decoration
- Loose decoration
- Major placement error
Set Errors
- Missing nail
- Wrong size
- Incorrect SKU
Packaging Errors
- Wrong box
- Missing accessory
- Incorrect printed version
If a buyer uses acceptance sampling for bulk inspection, the defect definitions should exist before the sampling plan is applied. ISO 2859-1:2026 defines AQL-indexed acceptance-sampling schemes for inspection by attributes, but it does not decide which press-on nail characteristics the buyer considers defective. (ISO)
The ISO 2859-1:2026 overview can be used as a reference when establishing a more structured inspection system.
Freeze the Product Specification
Once the final private label press on nails sample is approved, create a specification freeze.
Confirm:
- SKU
- Material
- Shape
- Length
- Size system
- Base color
- Finish
- Artwork
- Decoration
- Packaging
- Accessories
This becomes the production version.
If a change is required afterward, create a new revision instead of silently replacing one element.
Specification control becomes increasingly important when a brand has many SKUs.
Plan for Reorders From the Beginning
A private label product should not be developed as though it will only be produced once.
Successful private label press on nails may later need:
- Reorders
- New colors
- Another shape
- Seasonal variations
- Simplified versions
- Matching collections
Good documentation makes these extensions easier.
Keep:
- Design files
- Product codes
- Sample photos
- Revision history
- Packaging files
- Approved sample
- Color references
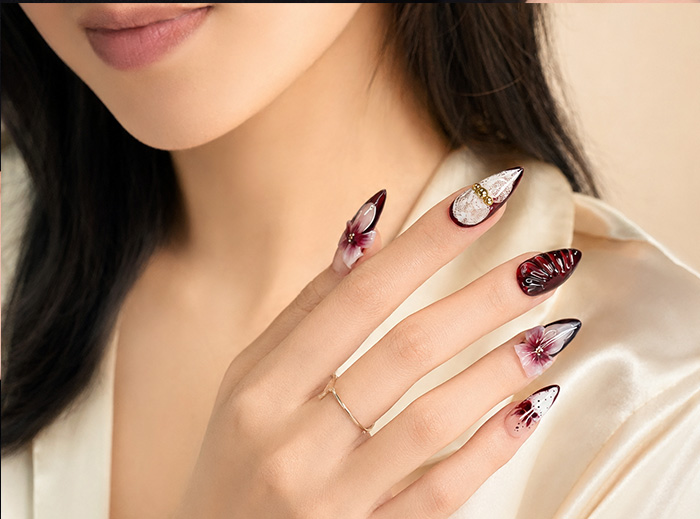
For example, a successful burgundy floral almond design could later become:
- Burgundy floral oval
- Black floral almond
- Bridal floral almond
- Simplified floral French
The original approved specification becomes the starting point.
Common Private Label Press On Nails Development Mistakes
Starting With Packaging Before the Product
Confirm the physical nail first.
Sending Only Inspiration Images
Provide actual specifications.
Leaving Shape or Length Undefined
These strongly influence the final product.
Approving Only One Nail
Review the complete set.
Using Vague Revision Notes
Tell the manufacturer exactly what should change.
Changing Too Many Variables at Once
Use controlled sample versions.
Ignoring Smaller Nail Sizes
Artwork and decoration need to scale.
Treating Handmade Variation as Unlimited
Define acceptable differences.
Failing to Approve the Complete Retail Kit
Nails, packaging, and accessories should eventually be reviewed together.
Losing the Final Sample
Retain a golden sample for future private label press on nails production.
A Practical Development Workflow
A straightforward private label press on nails project can follow this sequence:
Stage 1 — Concept
Define:
- Target customer
- Collection theme
- Main colors
- Product role
Stage 2 — Specification
Define:
- Shape
- Length
- Sizes
- Finish
- Artwork
- Decoration
Stage 3 — Initial Sample
Review structure and general design.
Stage 4 — Revision
Correct specific problems.
Stage 5 — Packaging Sample
Test the actual nails inside the intended package.
Stage 6 — Final Approval
Confirm the complete product.
Stage 7 — Golden Sample
Retain the final reference.
Stage 8 — Production Specification Freeze
Move to production using the approved version.
This workflow keeps private label press on nails development organized as the number of designs increases.
Conclusion
Developing private label press on nails successfully depends on turning a creative idea into a controlled physical product.
The process should begin with the customer and collection concept, then move into specific decisions about:
- Shape
- Length
- Sizing
- Color
- Finish
- Artwork
- Decoration
- Packaging
- Accessories
- Quality requirements
Sampling should not be treated as a one-time request for the factory to “make something similar.”
Each sample should answer specific product-development questions.
Review the physical structure first, then refine color, artwork, finish, and decoration. Test packaging with the actual nails inside, approve the complete retail set, and retain a golden sample before production begins.
For brands planning ongoing private label press on nails collections, documentation also makes future growth easier. Successful products can be reordered, recolored, adapted to other shapes, or expanded into new collections without restarting development from zero.
If you are preparing a new project, Xingyi’s customized services, shape and size guide, materials information, and handmade custom press-on nail collection can help define the physical product before sampling.
When your target customer, design references, preferred shapes, colors, decoration, packaging, and accessory requirements are ready, you can contact Xingyi to discuss sample development for your next private label press on nails collection.